Replacing a hose bib (also known as a sillcock, wall hydrant, or outdoor faucet) on vinyl siding is a common project for homeowners looking to fix a leaky spigot or upgrade to a frost-free model. Whetheryou're repairing damage caused by freezing temperatures or simply installing a new, more efficient hydrant,it's essential to follow proper techniques to ensure a durable, watertight, and code-compliant installation.
Why Replace Your Hose Bib?
Outdoor faucets can develop leaks due to age, poor installation, or freezing temperatures. In colder climates, standard hose bibs thataren’t sloped correctly or that are not frost-free can burst due to trapped water freezing and expanding. Frost-free hose bibs help prevent this by shutting off water deeper inside the house, where temperaturesremain above freezing.
Step-by-Step Guide to Replacing a Hose Bib on Vinyl Siding
1. Remove the Old Hose Bib
Start by carefully cutting away the old sealant around the existing hose bib flange using a utility knife. Unscrew the mounting screws and gently pull the hose bib out. Ifit’s stuck, avoid using excessive force—check inside for any retaining clips or pipe fittings that need to be disconnected first.
Tip: If the old faucetwasn’t angled downward, it may have been the reason it froze and burst. Always ensure proper slope for new installations.
2. Choose the Correct Frost-Free Hose Bib
You must select the right size and style of frost-proof hose bib based on:
- Wall thickness (they come in various lengths: 6", 8", 12", 14” etc.)
- Pipe type (PEX, copper, CPVC, etc.)
- Local plumbing code and climate conditions
- In colder regions, a longer frost-free sillcock may be needed to ensure the valve shuts off well inside the heated part of the building.
3.Identify Pipe Type & Install Adapters
Determine the type of water line inside the wall. In this guide,we’re connecting to ½" PEX pipe. If your frost-free hose bib has male threads,you’ll need a PEX-to-male adapter. Use plumber’s Teflon tape (PTFE tape) on threaded connections to ensure a watertight seal.
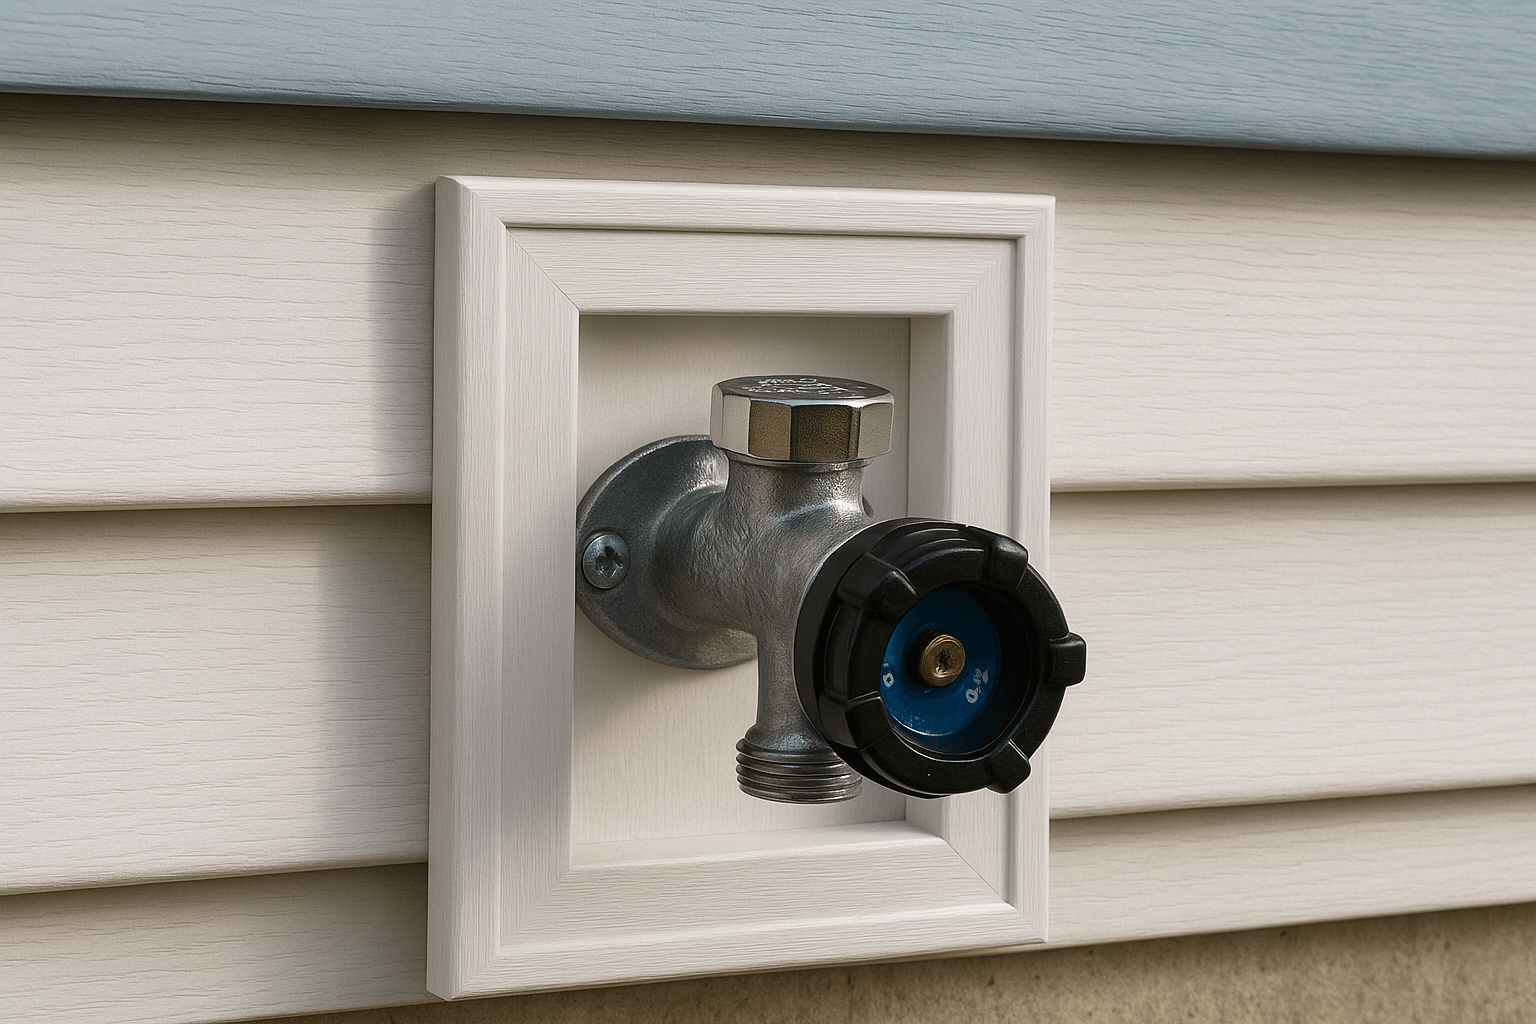
4. Prepare a Proper Mounting Block for Vinyl Siding
Never mount a hose bib directly onto vinyl siding. This can:
- Interfere with the siding’s ability to expand/contract with temperature
- Cause water to leak behind the siding
- Lead to incorrect hose bib slope
- Look unprofessional
Instead:
- Cut the vinyl siding to accept a universal mounting block made for hose bibs.
- Remove adjacent siding panels if needed to access the sheathing.
- Applyweatherproof membrane or flashing tape around the opening to shed water properly.
Tip: Ifrelocating the hose bib, patch the old hole with sheathing and cover it with membrane or flashing tape tomaintain water resistance.
5. Install the Mounting Block
Slide the mounting block behind the surrounding siding so the flange can be fastened directly into the sheathing or studs. Use corrosion-resistant screws (preferably stainless steel) to secure it firmly in place. This provides a flat, durable surface for the hose bib and protects the siding and wall cavity.
6. Drill the New Hose Bib Hole
Drill a hole slightly larger (about 1/8") than the diameter of your new hose bib. This allows room for movement, sealant, and future maintenance. The hole must slope outward to allow water to drain and prevent freezing.
7. Apply Sealant & Install Hose Bib
Add high-quality exterior sealant (like polyurethane or silicone caulking) behind the mounting block and around the hole. Protect the hose bib connection threads with tape before inserting it into the wall. Once aligned, screw it into the mounting block using corrosion-resistant screws that penetrate at least 1” into solid backing (e.g., wood sheathing or framing).
8. Connect the Plumbing Inside
Once the hose bib is secured, go inside to connect the piping. In our case, we used ½" PEX piping and crimped it onto the hose bib’s PEX adapter. Always verify proper tool usage and crimping pressure. Use a go/no-go gauge to ensure the crimp ring is seated correctly.
9. Test for Leaks
Turn the water supply back on and inspect both inside and outside connections. Check for anydrips, and tightenfittings as necessary.
Reminder: To prevent winter damage, always disconnect hoses from the hose bib incold weather. Even frost-free models can burst if watercan’t drain out freely.
Final Thoughts
Replacing or installing a new frost-free hose bib on vinyl sidingisn’t complicated, but it requires attention to detail. By using the correct mounting block, slope, and sealing methods, you can ensure long-term protection from leaks and freezing. Whetheryou're upgrading a leaky faucet or adding a new one, this is a smart DIY project that protects your home’s structure and makes yardwork easier.
📺 Watch the Short Video Here
👉
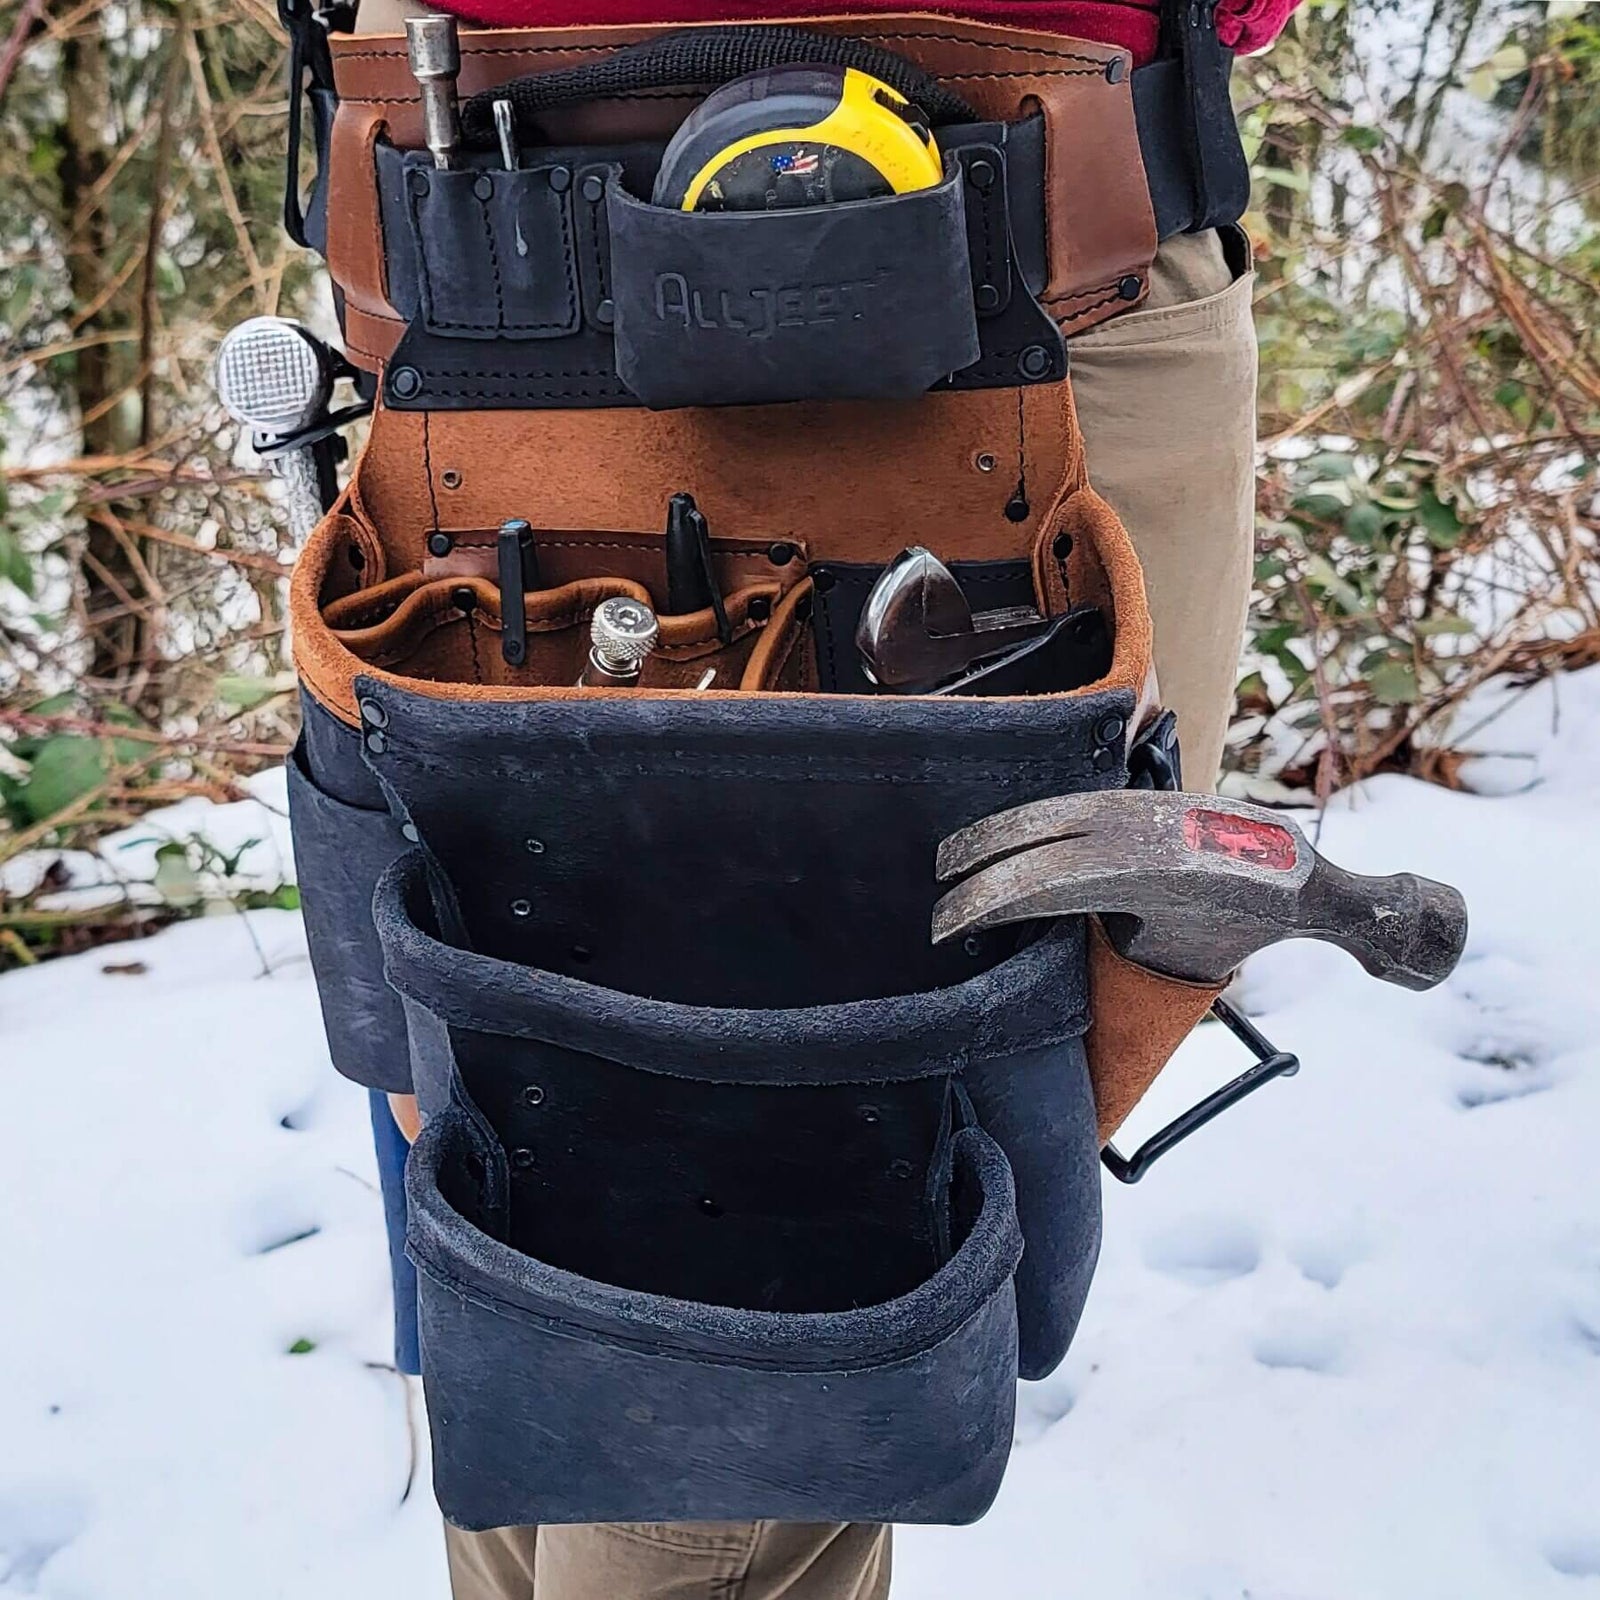
🛠️ Stay Organized with theAlljeet Leather Toolbelt
Whetheryou're swapping a hose bib or tackling other exterior repairs, staying organized makes the job easier. TheAlljeet Leather Toolbelt keeps your tools close and your hands free—with smart pockets for tape, nails, crimpers, markers, and more.
✅ Stay Tuned for More Tool Tips and DIY Projects
Subscribe to our YouTube and check out ALLJEET.com for more hands-on guides and helpful reviews.


Leave a comment (all fields required)